How to download keyword data from Magnet into a Google Sheet
Magnet is a keyword research tool from Helium10, specifically designed for Amazon sellers. It helps users find high-traffic, relevant keywords to optimize product listings, PPC campaigns, and overall Amazon SEO strategy.
In this guide, you'll learn how to use a bot to load the Magnet homepage, automate the entry of search terms to find keyword suggestions, and click "Get Keywords." The bot will then scrape the results and extract them into a Google Sheet.
For this guide, we'll focus on Simple Search Mode, but the same principles apply to automating an Advanced Search.
Check out our other Helium10 guides if you're interested in automating Cerebro or Black Box
# Getting Started
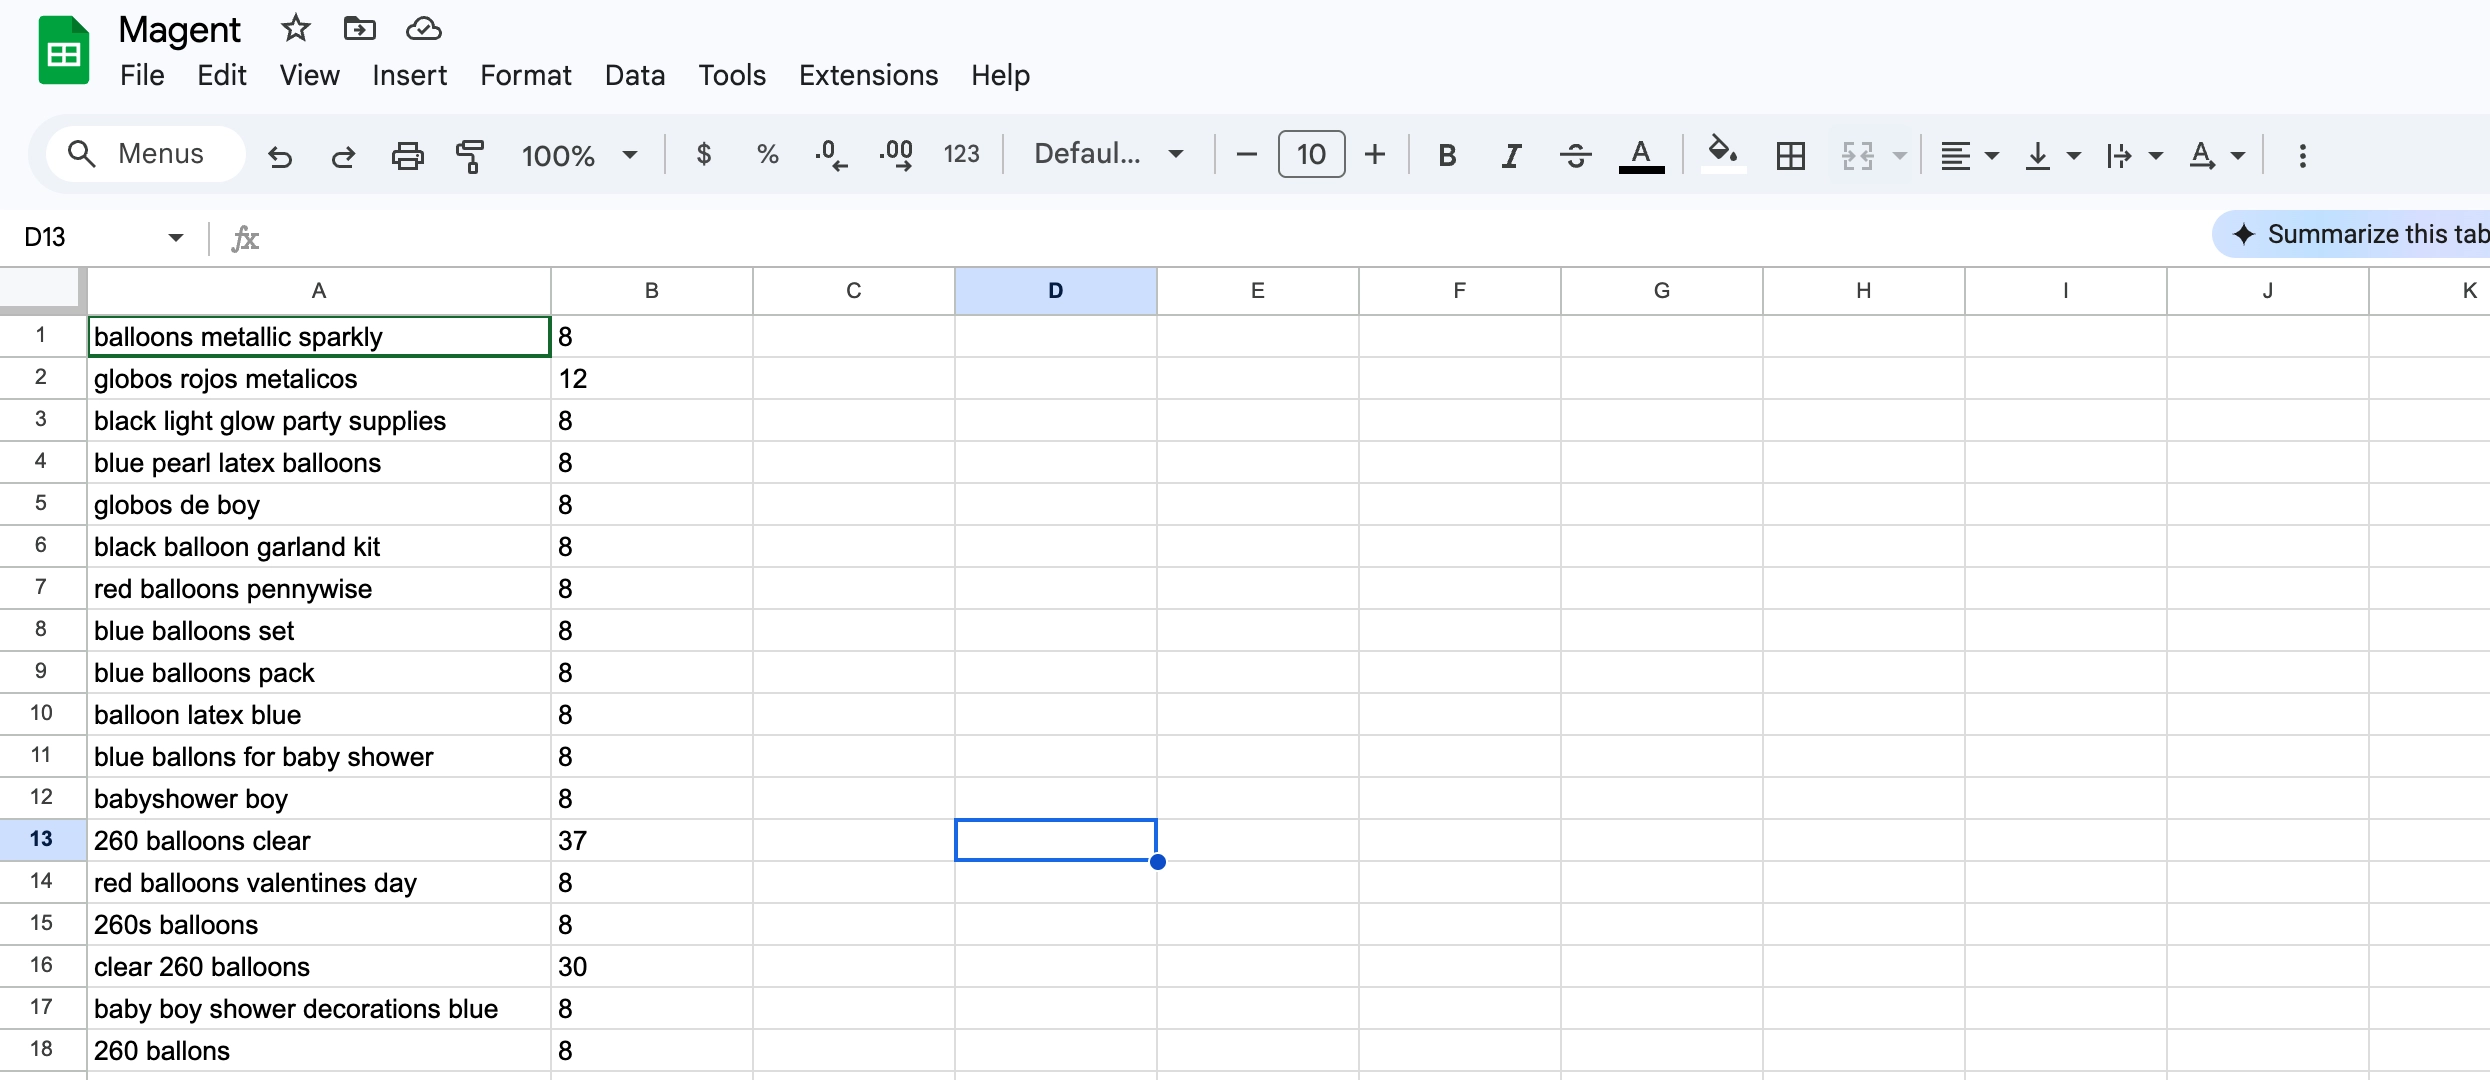
To begin, create a Google Sheet and add two tabs: one for search terms and another to store extracted data.
- Create a new Google Sheet: If you're logged into Google, type
sheet.newin your browser to quickly create a new sheet. - Set up tab one: Add your search terms into the first tab.
- Set up tab two: Name the second tab "data" and leave it blank.
# How to automate extracting keywords from Magnet
To start building your bot, open Axiom.ai and click "New automation" to use the no-code bot builder. Then, click "Add first step" and follow the guide.
Download the template we created for this keyword scraper. Click to learn how to upload it.
Add a 'Read data from a Google Sheet' step and configure.
- Spreadsheet: Search for and add the Google Sheet you created.
- Sheet name: Choose the tab containing the search terms.
Add a 'Loop through data' step.
- Loop through data: Click 'Insert Data' and select 'google-sheet-data'. The loop step will now iterate through the search terms in the Google Sheet.
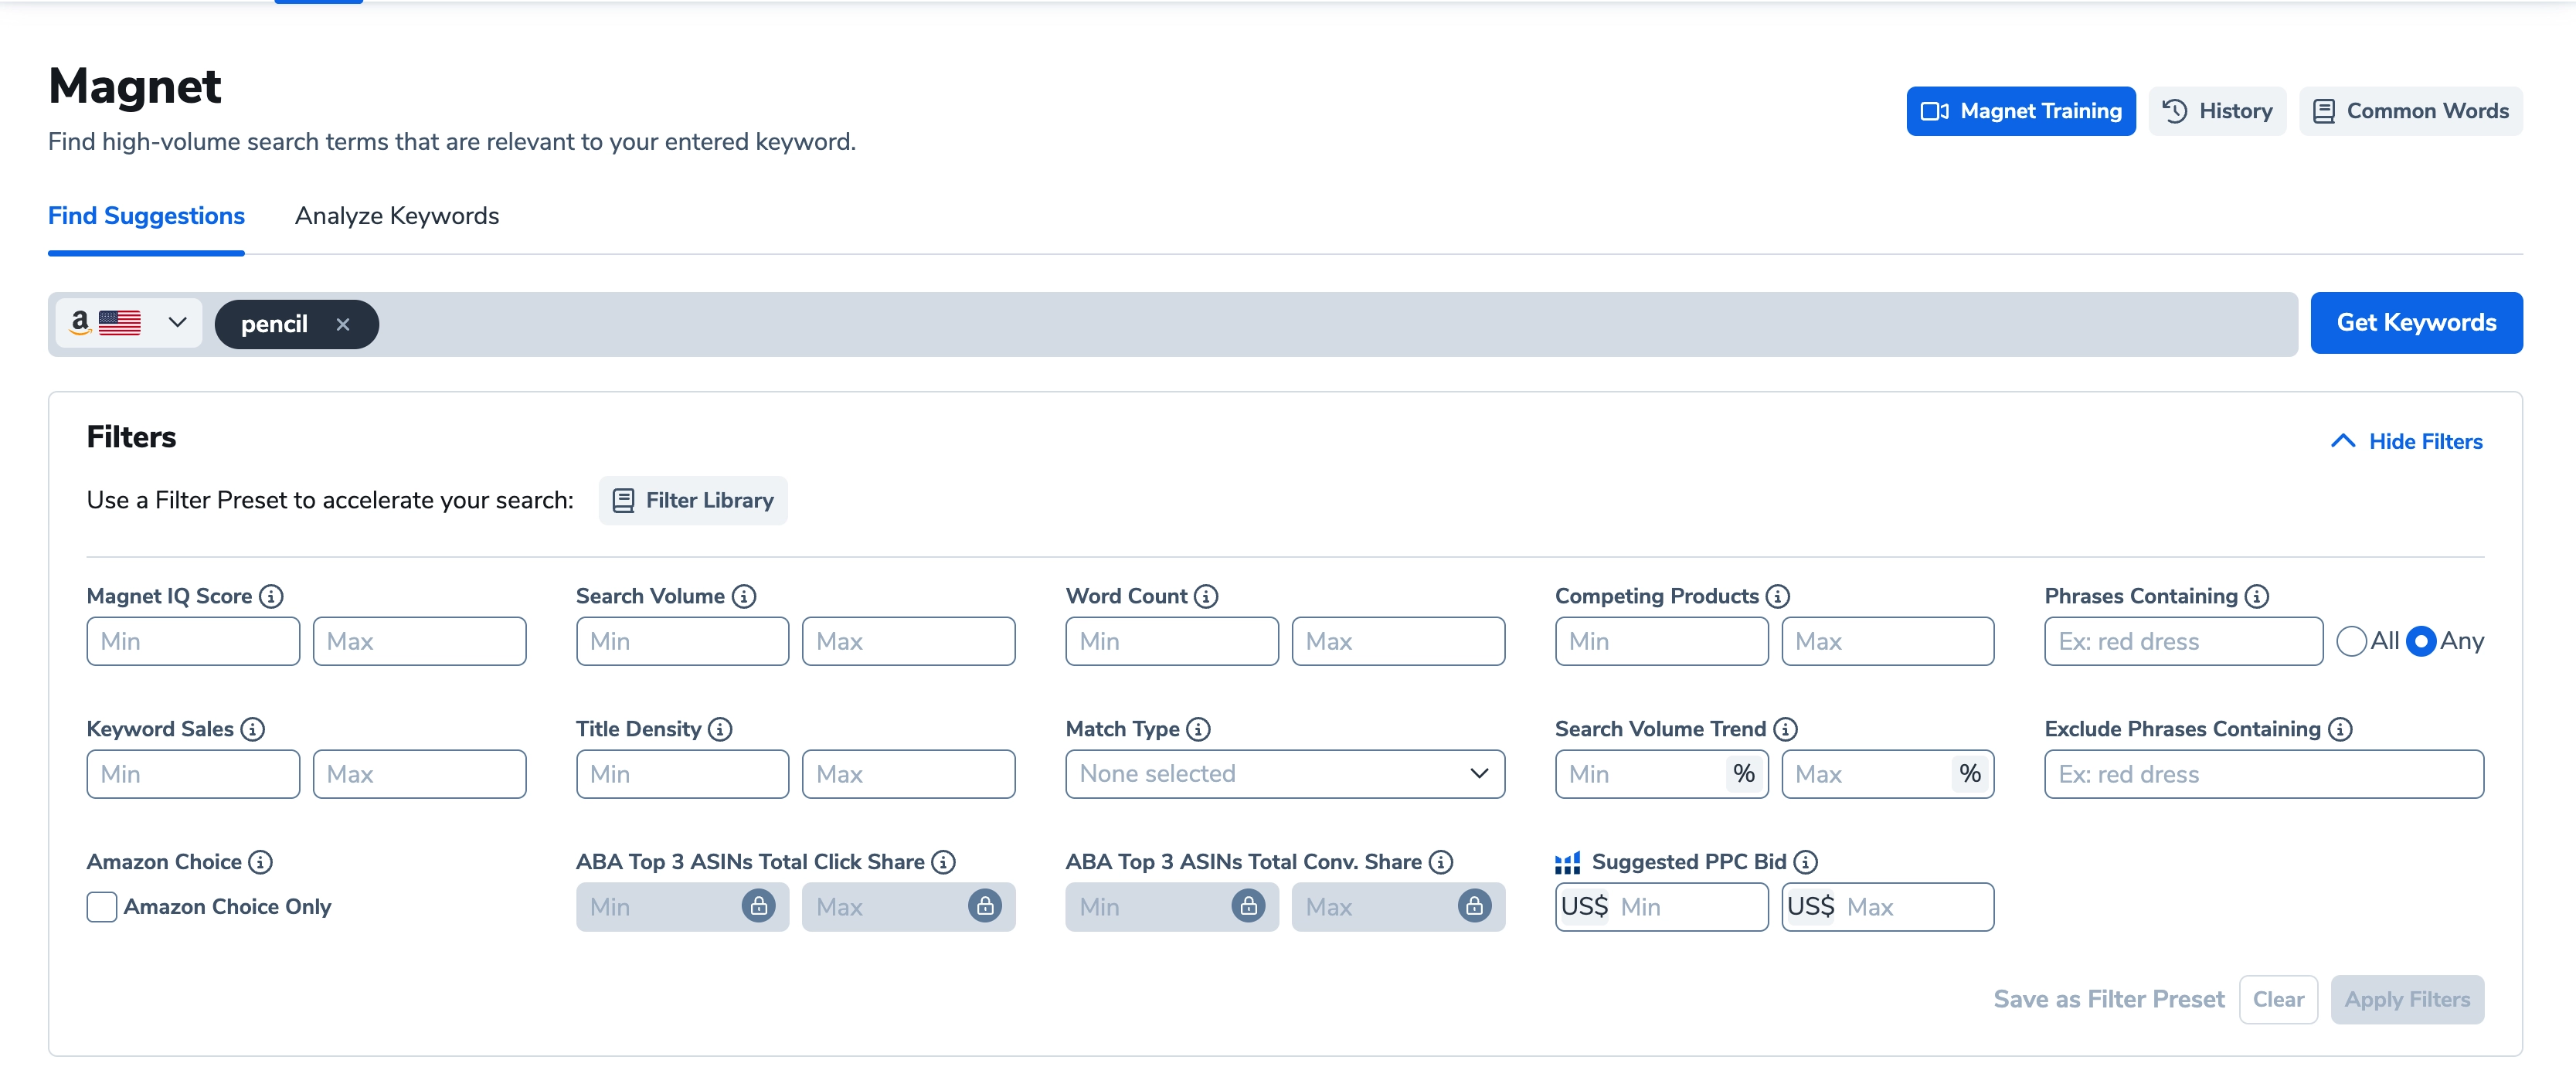
Add a 'Go to page' sub-step to load the Magnet landing page with the search field.
- Enter URL: The URL will look something like this:
"https://members.helium10.com/magnet/products?accountId=xxxxxxx"
- Enter URL: The URL will look something like this:
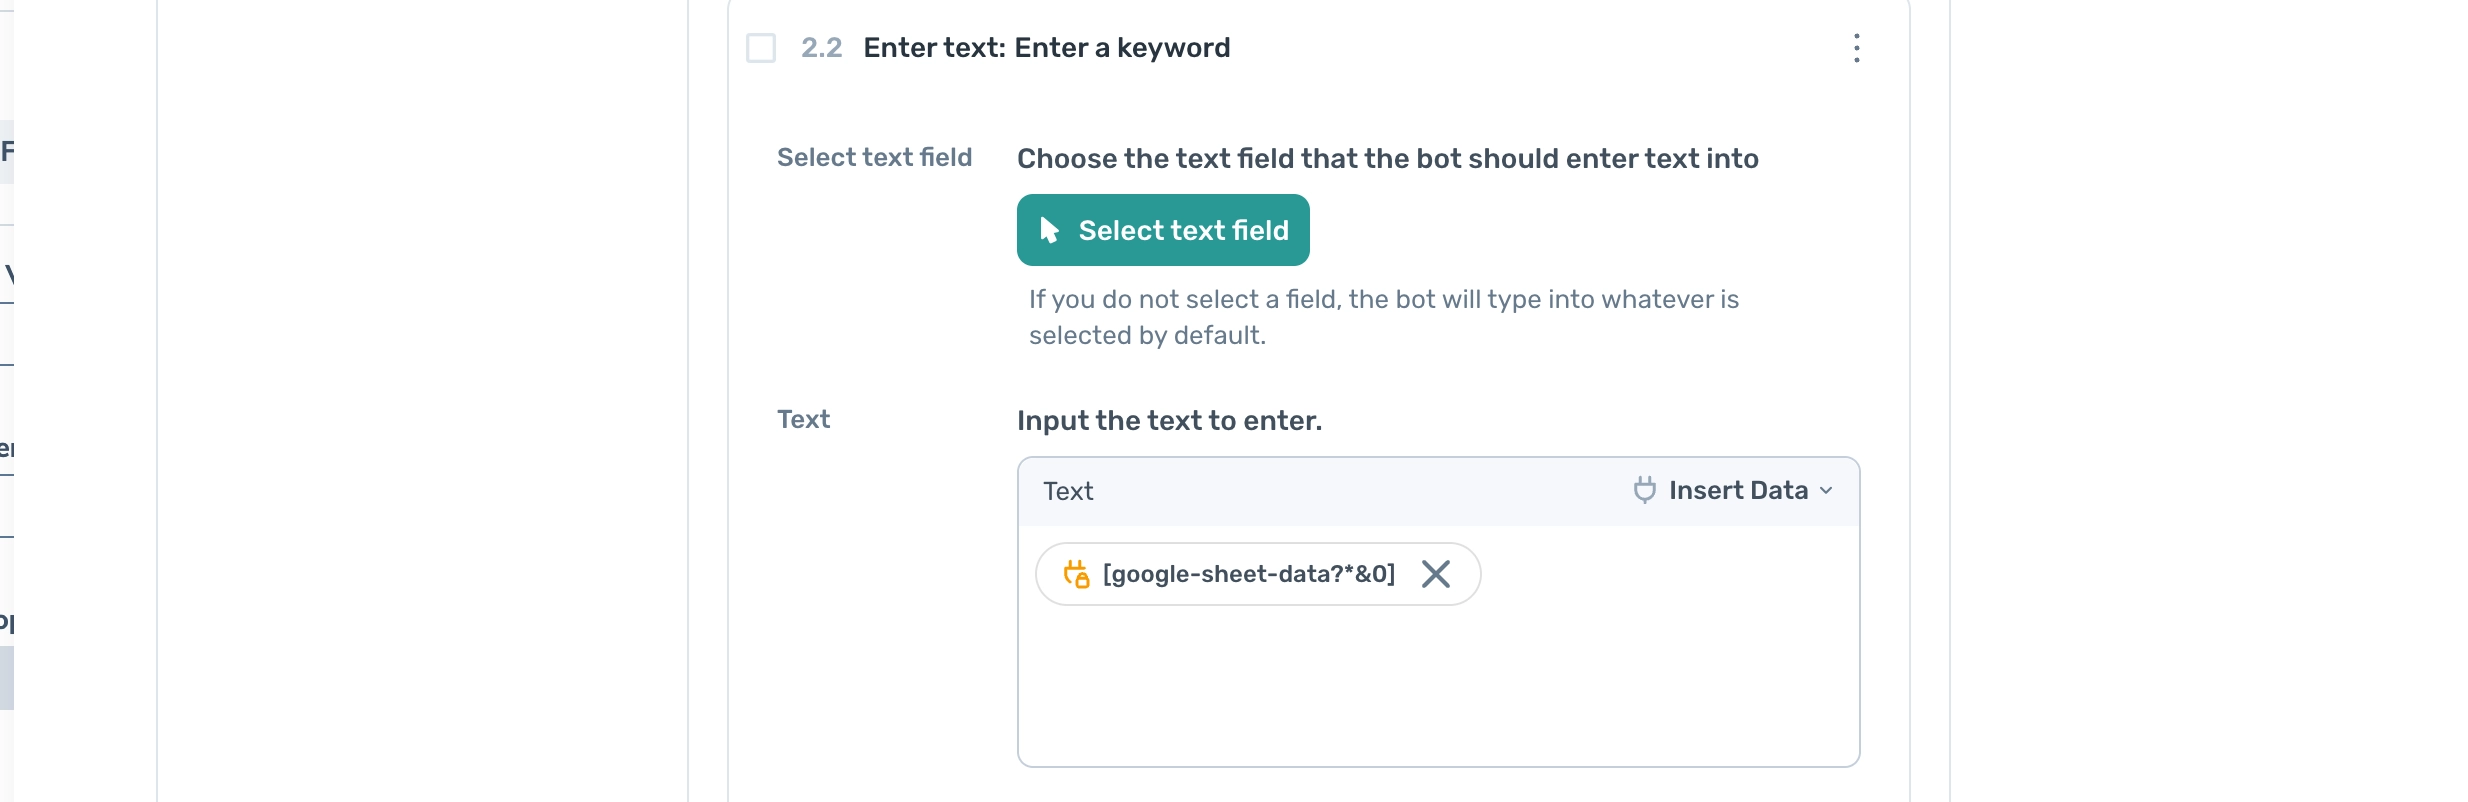
Add an 'Enter text' sub-step.
- Text: Click 'Insert Data' and select 'google-sheet-data' to pass the search terms from the sheet.
- Select column: Choose column ‘A’ in the preview.
Add a 'Click element' sub-step to click "Get Keywords."
- Select: Click 'Select', then click on "Custom" and tick "Use element text." Finally, click "Complete."
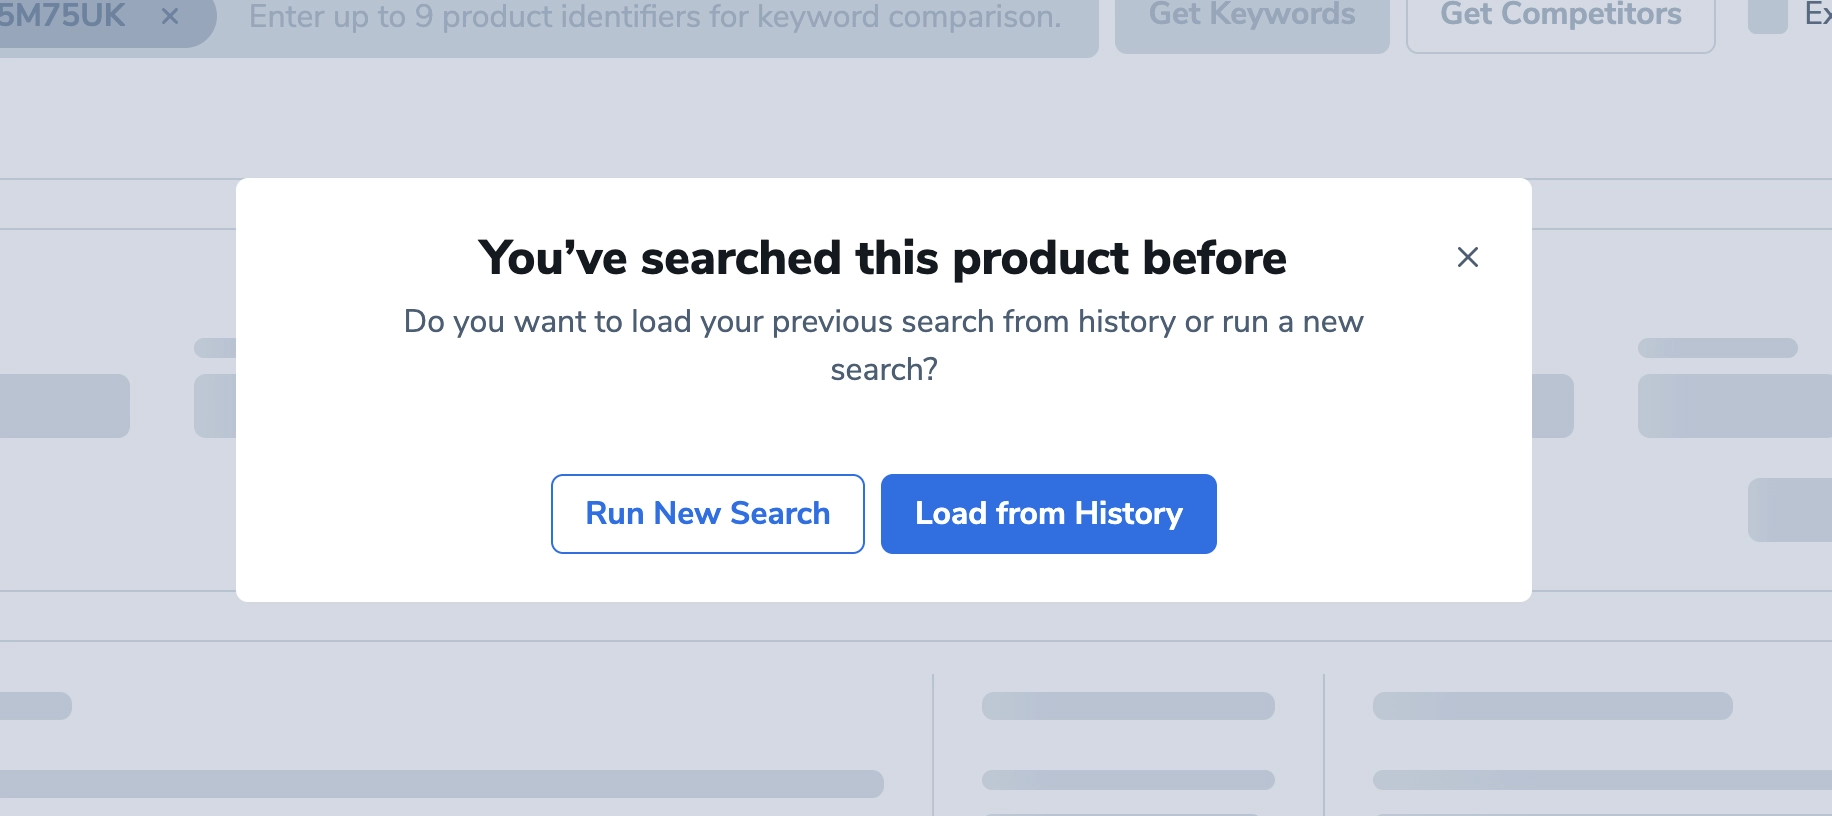
To close the pop-up, add a 'Click element' step to click "Run new search" or "Load from history."
- Select: Click 'Select', then click on "Custom" and insert
"[data-testid="runnewsearch"]"or"[data-testid="loadfromhistory"]". - Optional Click: Tick this option, as the pop-up does not always appear.
- Select: Click 'Select', then click on "Custom" and insert
Add a 'Wait' step to pause the bot and allow the data to load.
- Wait time: Insert "7000" to make the bot wait 7 seconds. You may need to experiment with wait time.
Add a ‘Get data from bot's current page’ sub-step. With search results displayed on the Magnet page, select the data you wish to extract.
- Select: Click ‘Select’ to open the multi-selector tool.
- Select the first keyword in the "Keyword Phrase" column, then repeat the selection for rows below to make a repeating selection.
- Press "Shift + N" to add a new column. On the page, select the CPR column in the first row, then repeat the selection in the second row.

- Select the 'Next' button for pagination using the right arrow key.
- Set a maximum number of results you wish to scrape. I chose 100 when making this bot.
Add a 'Write data to a Google Sheet' step.
- Spreadsheet: Select your Google Sheet.
- Sheet Name: Choose the tab where you want to write the Amazon keyword data.
- Data: Click 'Insert Data' and choose "scraped-data-".
- Write Options: Select 'Add to Existing Data' to append the new data without deleting the existing data.
Add a 'Delete rows from a Google Sheet' step to remove the processed search term.
- Spreadsheet: Select your Google Sheet.
- Sheet Name: Choose the tab containing the search criteria.
- First Row to Delete: Leave this set to 1.
- Last Row to Delete: Set to 10.
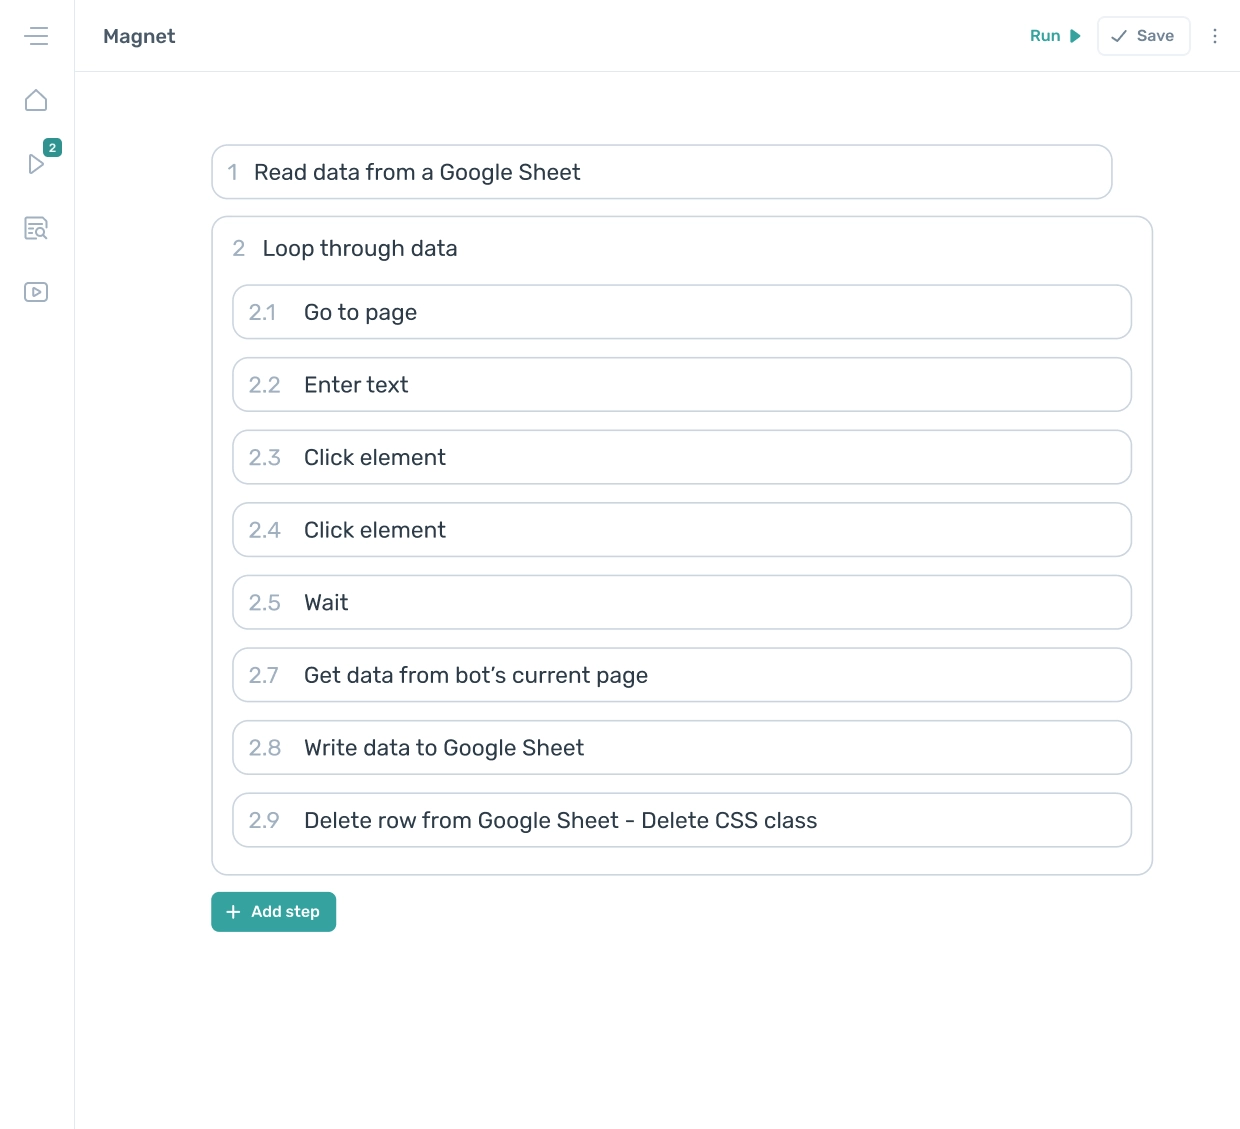
The Magnet automation, when completed, should resemble the diagram below.
# Testing your Magnet automation
Once you have saved your **Helium10 Magnet ** automation, click "Run" within the Axiom.ai extension to start extracting keyword data.
# Issues you may encounter:
- Element not found: You may need to reselect elements. Changing marketplaces can sometimes affect selectors.
- Keyword data not loading in time: Magnet can sometimes be slow to load data, so you may need to adjust the wait time in Step 7.
# Try out the template
While creating this guide and testing Axiom.ai on Magnet, we also built a template. If you choose to use the template, you will need to do the following:
- Step 1: Add your own Google Sheet.
- Step 2.1: Add the URL to the Magnet page while logged in.
- Step 2.7: Select the data you wish to scrape.
- Steps 2.8 and 2.9: Add your own Google Sheet.
Please note that this template is a starting point, and you may need to customize it.
Click to download the Magnet template.
# Wrapping up
Extracting keyword data from Magnet is straightforward. You can simply point and select the data you want. This template can be modified and used as a starting point.
If you need help automating Helium10, reach out to support@axiom.ai, and we’ll help you create an automation.
Testing was completed on January 29, 2025. Features in Helium10 or Axiom.ai may change over time, and updates may be needed.